Intravenous (IV) cannulation is a fundamental skill for nurses and many other healthcare professionals. The ability to successfully insert a cannula into a patient’s vein is crucial for delivering fluids, medications, and blood products efficiently. While seemingly straightforward, mastering this technique requires knowledge, practice, and a commitment to patient safety and comfort.
This guide will walk you through key aspects of IV cannulation, from preparation to potential complications, offering valuable insights for both novice and experienced practitioners.
1. Preparation is Key:
Before approaching the patient, thorough preparation is essential. This includes:
- Understanding the Order: Verify the physician’s order, including the type of fluid or medication, rate of infusion, and duration.
- Gathering Supplies: Assemble all necessary equipment:
- Appropriate size IV catheter (consider the patient’s vein size and the infusate)
- Tourniquet
- Antiseptic solution (e.g., chlorhexidine, povidone-iodine, or alcohol)
- Sterile gloves
- Transparent semipermeable dressing
- Gauze pads
- IV extension set (if needed)
- Saline flush syringe
- Sharps container
- Patient Identification and Explanation: Confirm the patient’s identity using at least two identifiers. Explain the procedure clearly, addressing any anxieties and answering their questions. Obtain informed consent.
- Hand Hygiene: Perform thorough hand hygiene before and after the procedure.
2. Vein Selection: The Art and Science:
Choosing the right vein is critical for successful cannulation and patient comfort. Consider the following factors:
- Visibility and Palpability: Ideally, select a vein that is visible and easily palpable (springy and bouncy).
- Size and Condition: Choose a vein large enough to accommodate the catheter and the infusate. Avoid hard, sclerosed, or previously punctured veins.
- Location: Start distally (further away from the body’s core) to preserve more proximal sites for future use. Consider non-dominant arms when possible. Avoid veins near joints if possible, as movement can cause irritation or dislodgement.
- Patient Factors: Consider the patient’s age, medical history (e.g., peripheral vascular disease, mastectomy), and skin integrity.
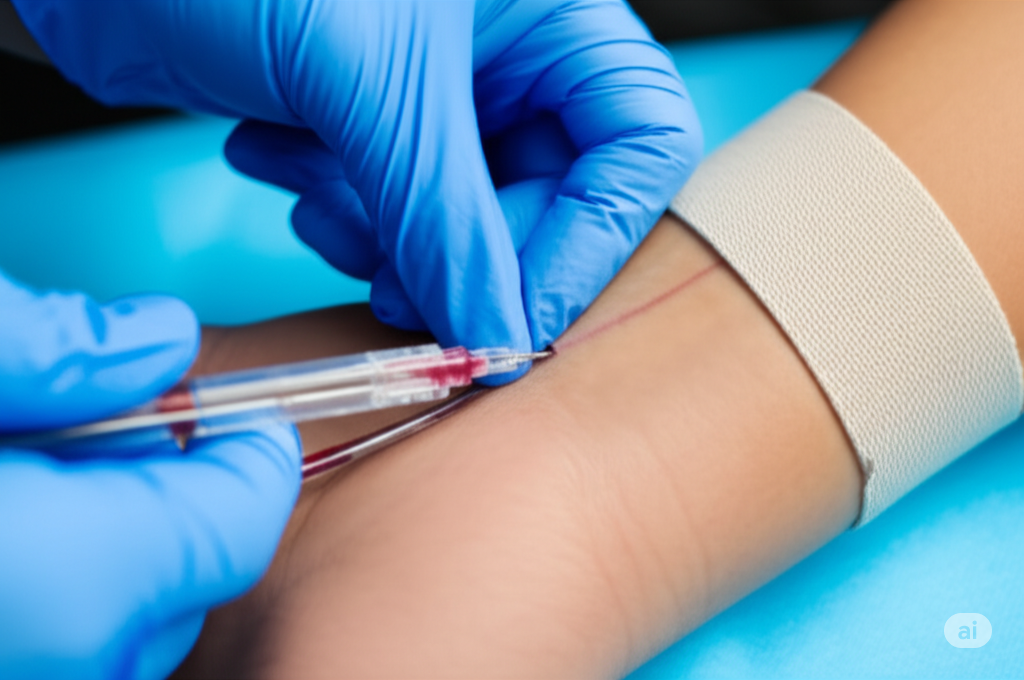
3. The Cannulation Procedure: Step-by-Step:
- Apply the Tourniquet: Place the tourniquet 4-6 inches above the intended insertion site, tight enough to impede venous return but not arterial flow.
- Cleanse the Site: Cleanse the chosen site thoroughly with the antiseptic solution using friction for the recommended time (usually 30 seconds), and allow it to air dry completely. Do not touch the site after cleansing.
- Don Gloves: Put on sterile gloves.
- Anchor the Vein: Use your non-dominant thumb to gently pull the skin taut below the insertion site, stabilizing the vein.
- Insert the Catheter: Holding the catheter (bevel up) at a shallow angle (typically 10-30 degrees), insert it through the skin and into the vein. You should feel a “pop” or a decrease in resistance as the needle enters the vein.
- Observe for Flashback: Once you see a flashback of blood in the catheter hub, slightly advance the catheter another 1-2 millimeters.
- Thread the Catheter: Lower the angle of the catheter almost parallel to the skin. Advance the catheter gently into the vein while simultaneously retracting the needle (safety mechanism).
- Stabilize and Release Tourniquet: Once the catheter is fully threaded, stabilize it with your non-dominant hand and carefully release the tourniquet.
- Connect and Flush: Connect the IV extension set or a sterile syringe with saline flush to the catheter hub. Gently aspirate to confirm blood return (if not already seen), then flush the catheter with saline to ensure patency and check for any swelling or pain.
- Secure the Catheter: Apply a sterile transparent semipermeable dressing over the insertion site, ensuring the hub and connection are visible. Document the date, time, catheter size, and your initials on the dressing.
- Dispose of Sharps: Immediately discard the needle and stylet into a sharps container.
4. Potential Complications and Troubleshooting:
Be aware of potential complications and know how to address them:
- Failed Insertion: If you don’t get a flashback or cannot thread the catheter, withdraw the needle slightly (not all the way out), redirect, and try again. Limit attempts on the same site.
- Hematoma: If a hematoma forms (swelling and bruising), discontinue the attempt at that site and apply pressure.
- Infiltration: If the fluid infuses into the surrounding tissue (swelling, coolness, pain), stop the infusion, remove the catheter, and elevate the extremity.
- Extravasation: Similar to infiltration but with vesicant (irritating) medications. Follow institutional policies for management.
- Phlebitis: Inflammation of the vein (redness, warmth, tenderness along the vein).
- Infection: Maintaining aseptic technique is crucial to prevent infection.
5. Documentation and Ongoing Care:
Accurate documentation of the procedure, including the date, time, location, catheter size, number of attempts, patient tolerance, and dressing integrity, is essential. Regularly assess the IV site for signs of complications and follow institutional protocols for IV site care and maintenance.
Mastering IV cannulation takes time and practice. Continuous learning, attention to detail, and a focus on patient comfort and safety will contribute to your proficiency in this vital skill.